How a smile makeover actually works, step by step
From the first photographs to the final polish — what a cosmetic plan looks like at Krest, and how long each phase takes.

Dr. Suneeta Veeramachaneni
14 January 2025 · 6 min read
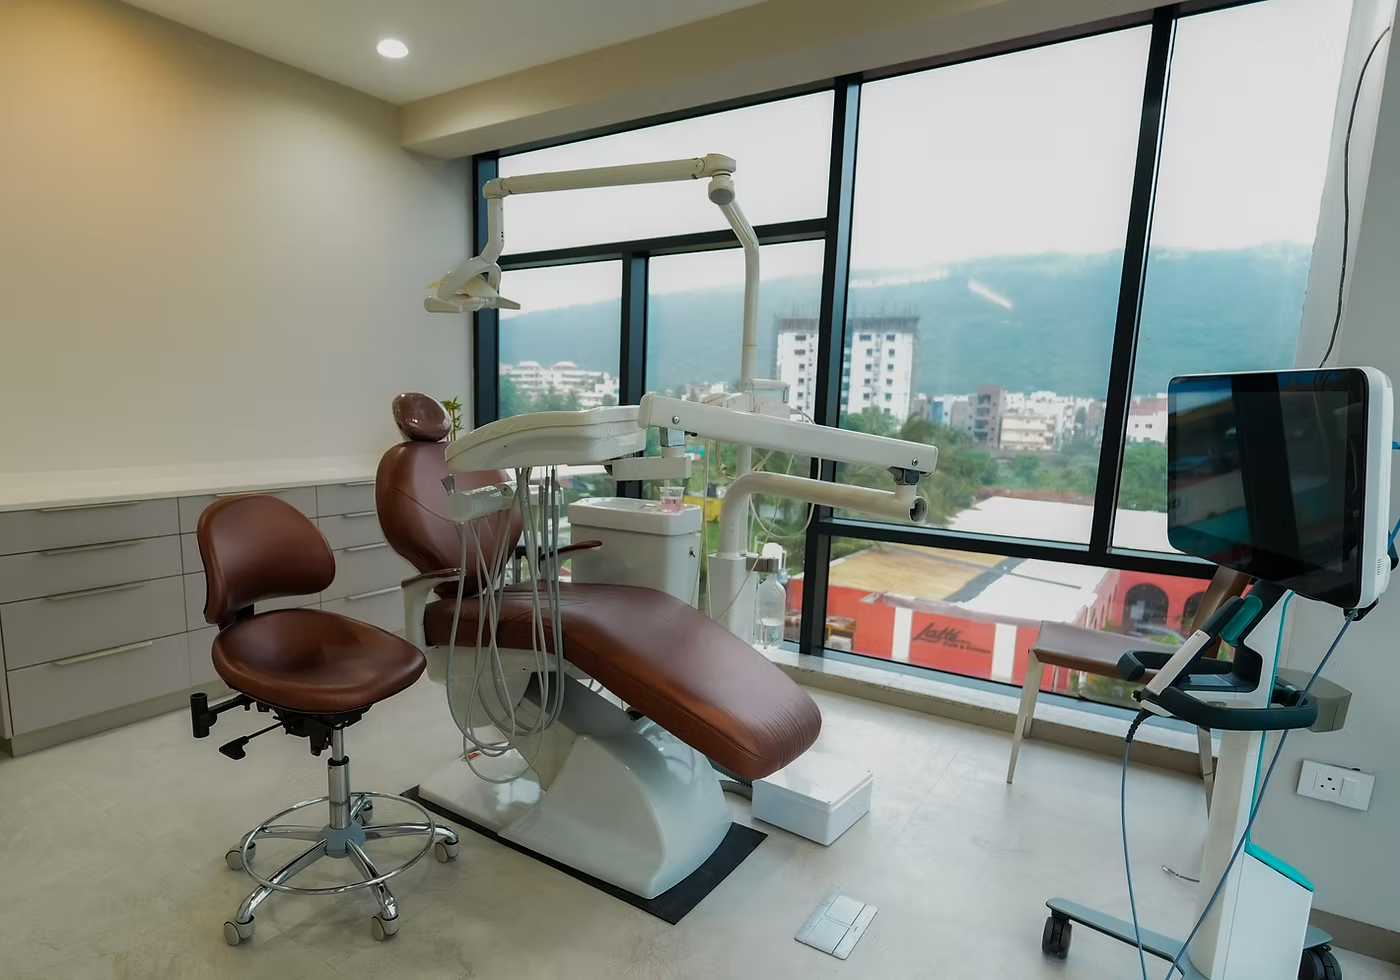
A smile makeover is rarely one procedure. It is a sequence of small, carefully ordered steps that move from diagnostic work to a tested preview before any tooth is touched.
Phase one — records
We capture clinical photos, full-face video, a digital scan, and where useful a CBCT. These together let us study the lips, gum line, midline, and tooth proportions side by side.
Phase two — digital design
We mock up the new smile on screen and 3D-print a temporary version that you wear for a few days. This is the moment to say what you like and what you do not — changes here are essentially free.
“You wear a 3D-printed preview of your new smile for a few days — changes at this stage are essentially free.”
Phase three — the clinical work
Whitening if needed, gum re-contouring if needed, and finally veneers, crowns, or bonding done one quadrant at a time. We protect tooth structure aggressively and keep restorations as conservative as the design allows.
Phase four — review
We see you a week later, polish edges, refine contacts, and confirm comfort. A smile makeover ages well only when this final phase is taken seriously.
Written by
Dr. Suneeta Veeramachaneni, DDS, University of California, San Francisco
More about Dr. Suneeta Veeramachaneni, DDS, University of California, San Francisco